Read the Look Before You Rebuild It
A 1920 × 1080 frame is a practical reconstruction canvas, even when the original reference was delivered in standard definition.
That distinction matters. A late-2000s broadcast package delivered at 720 × 486 may survive only as a compressed clip, but its design decisions existed upstream of that delivery format. Rebuilding at HD resolution gives bevels, reflections, and type enough room to resolve cleanly before any period-specific degradation is introduced.
Identify the visual grammar
The glossy tech look rests on a compact set of observable traits: deep black fields, broad beveled geometry, chrome or smoked glass, saturated edge light, shallow focus, sweeping cameras, bloom, and tightly timed reveals. None is decisive alone. The period character emerges from how they reinforce one another.
A chrome form against an evenly lit gray studio reads like a product render. The same form crossing a nearly black field, caught by a cyan rim and a large moving reflection, begins to behave like a broadcast ident.
Key Takeaway: Reconstruct the period’s visual grammar, not a proprietary package and not a generic retro filter.
Separate Period Signals from Render Noise
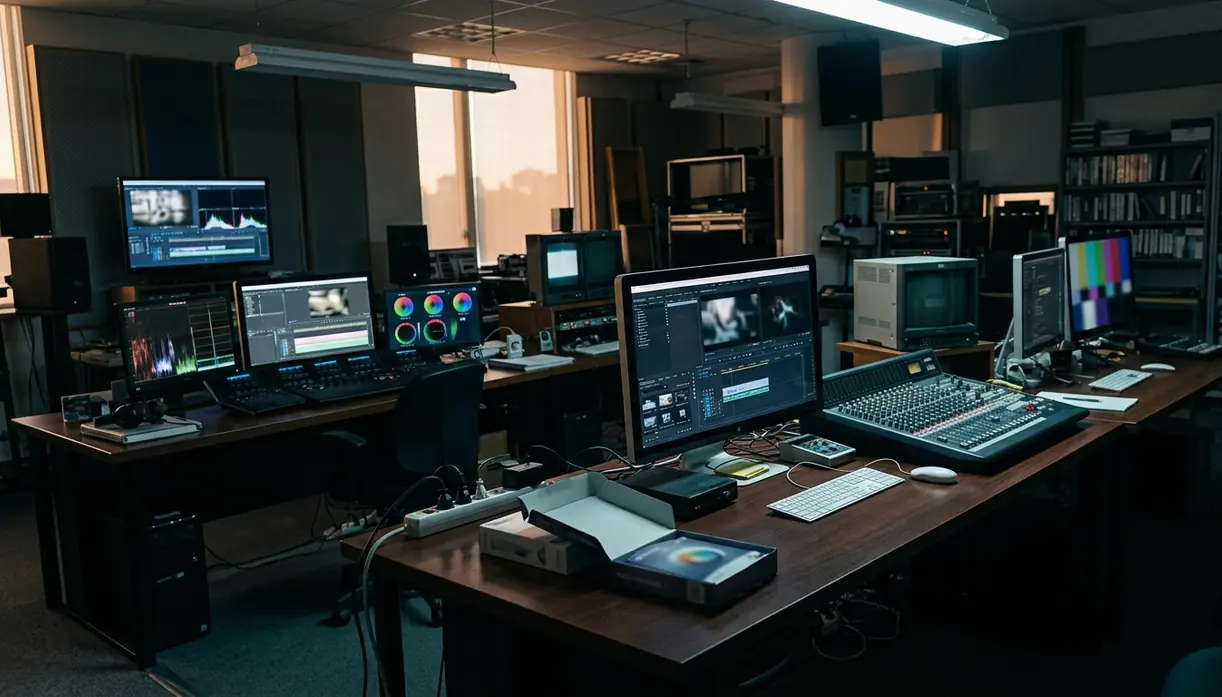
Spend the first 45 to 60 minutes outside Cinema 4D. Isolate 10 to 15 clean reference frames, then sort what each frame tells you about geometry, material response, lighting direction, camera behavior, typography, compositing, and temporal rhythm.
Classify artifacts before copying them
Compression blocks, interlaced edges, crushed blacks, and low-resolution contours belong to the surviving copy, not necessarily to the design. Even banding needs inspection. Eight-bit compression banding tends to break smooth tonal movement irregularly, while intentional gradient banding usually follows a designed contour or compositional division.
The highest-value signals are often plain: broad bevels that hold a moving highlight, large reflection shapes that describe curvature, controlled gradients, and dark negative space around the hero form. Decorative circuitry and arbitrary interface marks contribute less than expected. They can even pull the reconstruction toward a generalized science-fiction look.
Start with silhouette and reflection behavior. Surface decoration should enter only after the frame already reads at thumbnail size.
Build a Period-Aware Cinema 4D Scene
Lock the production frame first
Set output dimensions, frame rate, shot duration, color management, and naming conventions before modeling. These choices govern camera timing, motion blur, render passes, and handoff structure. Deferring them creates small mismatches that become expensive near final output.
Build a restrained modular kit rather than a finished monument: beveled slabs, extruded rings, curved ribbons, recessed channels, glass panels, and simple type carriers. Keep hero pieces separate from background repeaters so materials and object masks remain easy to manage.
Model for highlight travel
On a standard 100 cm primitive, bevel radii between 0.5 cm and 1.2 cm provide a useful starting range. Curved ribbons usually need only 3 to 5 subdivision segments when their contour and shading already hold up from the shot camera. Add subdivision where it improves a traveling reflection, not because a dense mesh feels more finished.
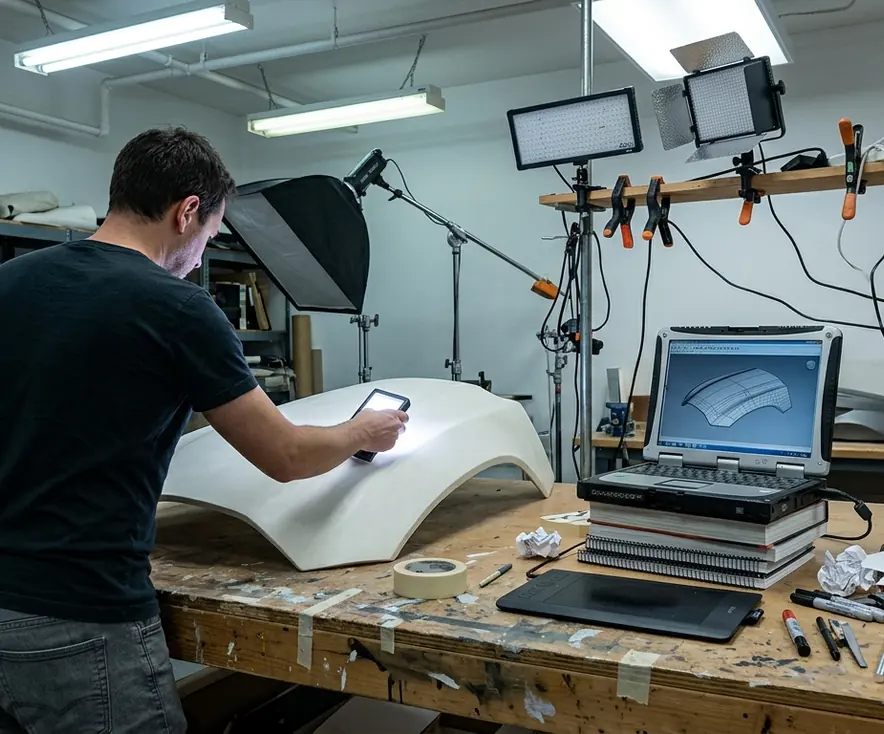
We initially kept recessed circuitry channels live with boolean operations, hoping to preserve flexibility. The resulting n-gons pinched reflection art along the surrounding surfaces, so the channels were rebuilt as cleaner inset geometry. This is one place where editability was less valuable than predictable shading.
Warning: Highlight speed must match bevel width. A 0.5 cm bevel needs a significantly slower camera sweep to register than a broad 2.0 cm chamfer.
Design Chrome, Glass, and Emissive Surfaces That Read
A compact Redshift material family produces a more coherent frame than a collection of one-off shaders.
Start with polished dark metal, brighter chrome, tinted dielectric glass, glossy polymer, and restrained emissive accents. Instances can vary roughness, tint, or bump without breaking the common response shared across the package.
Control response rather than adding detail
- Polished metals: constrain roughness between 0.02 and 0.08, then judge the value against the actual reflection cards.
- Chrome: keep the base response neutral enough that environmental color controls the finish.
- Glass: use an index of refraction of around 1.52 for dielectric panels, with transmission and absorption tuned to preserve overlapping edges.
- Glossy polymer: use coat response to separate the clear surface reflection from the darker body color.
- Emission: reserve it for edge accents and graphic punctuation rather than using it as general illumination.
Perfectly sharp chrome often looks empty because it has nothing useful to reflect. Large environmental shapes reveal curvature; shader complexity cannot substitute for them. Likewise, heavy procedural wear or edge-damage shaders completely break the pristine, high-end commercial illusion of the late 2000s.
Light the Reflections, Not Just the Objects
A near-black environment is the useful baseline. From there, area lights behave less like general illumination and more like controlled reflection cards placed to draw specific contours.
Use a three-part hierarchy
- Place a large key reflection to define the hero form.
- Add a saturated rim to separate that form from the black field.
- Introduce a softer fill only where overlapping glossy surfaces lose necessary detail.
Elongated area lights with aspect ratios of 10:1 or 20:1 create the linear highlights associated with curved ribbons and beveled slabs. Depending on scene scale, intensity multipliers between 50 and 150 provide a workable adjustment range, but the reflected shape matters more than the numeric setting.
Position each light while viewing the shot camera. A light can illuminate an object without producing the reflection that explains its shape. Rotate or translate the card until its highlight crosses the bevel during motion, then check that the sweep remains visible after bloom and motion blur.
Pro Tip: Animate a temporary matte material on the hero object when diagnosing light direction; restore the reflective shader once the hierarchy is clear.
Compose Motion Like a Broadcast Ident
The strongest five-second shots usually contain only a few spatial events: a form enters, a reflection sweeps, layers align, and the title or mark resolves. Motion should reveal hierarchy rather than demonstrate every axis available in the software.
Choose the lens from the reference
Focal lengths between 85 mm and 135 mm compress layered forms into dense, graphic arrangements. A controlled wide-angle camera placed near the geometry can instead emphasize passage and scale. Avoid extreme contemporary lens distortion unless the reference clearly depends on it.
There is one practical catch: extreme long-lens compression at 135 mm and above requires a physical scene depth of roughly 2,000 to 3,000 units. Without that room, a sweeping reveal can force the camera through foreground geometry.
Depth of field should support the same hierarchy. F-stops between f/2.8 and f/4.0 can soften passing foreground elements while keeping the final title plane legible. Focus pulls work best when they coincide with a clear compositional handoff, not as continuous decoration.
Finish the Image Without Erasing Its Structure
Render passes with a job to do
Export a manageable utility set: reflections, emission, depth, motion vectors, and object masks where the production requires them. Each pass should answer a foreseeable compositing need. A large pass stack with no adjustment plan only moves scene decisions downstream.
Preserve the black field, but do not crush every shadow to zero. Near-black separation is what allows smoked glass to cross dark metal without merging into one shape. Reflection and emission passes can then be adjusted locally rather than forcing a broad contrast correction across the entire frame.
Add period texture selectively
Bloom, glare, chromatic separation, vignetting, grain, and sharpening should not arrive as one universal preset. Use bloom around selected emission and hot reflection peaks. Keep chromatic aberration to 1 or 2 pixels of displacement at the frame edges so the title remains intact.
Scanned 35 mm film grain at roughly 15 to 25 percent opacity on a soft-light blend can settle clean gradients and integrate separate render elements. Inspect it at delivery scale; grain that looks elegant at full resolution may become restless after compression.
Assemble a Five-Second Glossy Tech Ident
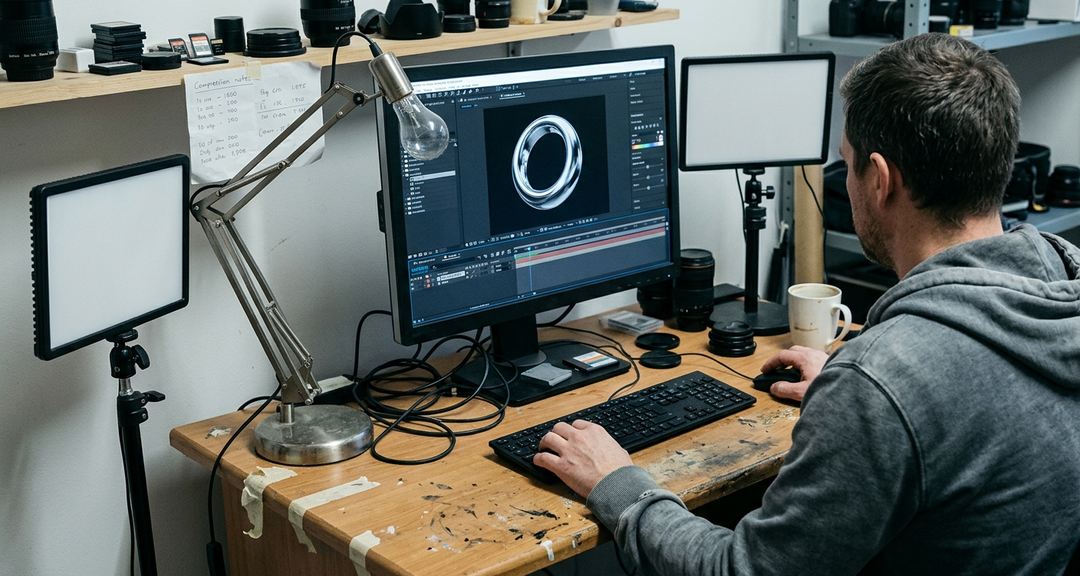
Use a 150-frame timeline at 29.97 frames per second. The shot begins with a beveled chrome ring rotating past smoked-glass panels. A cyan rim travels along its edge, and the camera settles as a restrained title plane resolves behind the ring.
Build the shot in production order
- Block the composition: place the ring, panels, and title carrier using matte materials, checking the final frame first.
- Assign the material family: use bright chrome for the ring, dielectric glass at an index of refraction of around 1.52 for the panels, and a quieter polymer for the title carrier.
- Place reflection cards: establish the broad key sweep before adding the cyan rim and restrained fill.
- Shape animation curves: let the initial rotation carry momentum, then ease the camera into a stable title hold.
- Run preview checks: inspect silhouette, highlight travel, focus, title legibility, and foreground clearance separately.
- Render and composite: on modern GPU hardware, a frame may take roughly 45 to 90 seconds, so test short ranges before committing the full sequence.
Save the geometry kit, shader family, light rig, camera setup, and compositing recipe as separate reusable components. An inflexible master template encourages repetition; modular parts preserve the production logic while allowing each reconstruction to respond to its own reference.
When the final frame resolves, which single event should the viewer remember: the ring’s rotation, the cyan reflection sweep, or the title landing?